

Introduction
Contents
Logging in
Resetting your password
Language settings
Logging Out
The Dashboard
General functionality
The Actions Button
Delete
History
Close plan / repairment
Reopen plan / repairment
Change document template
Export processing activity records
CCQ – short for Cloud Compliance & Quality – is a cloud-based quality management solution that consists of six modules. The modules are Quality Manual, Risk Management, Incidents & Complaints, Audits, Asset Management and Competency Management. We’ve recently added a questionnaire builder that complements the other modules and makes GDPR compliance easier for organizations to achieve.
CCQ’s specialty is based on an inbuilt quality management methodology, which employs a functionality that facilitates users’ work and is suitable for both small and large businesses. Depending on the company’s needs, it’s possible to use one or more modules together, as they are all interconnected. CCQ is essentially the company’s well of wisdom, where information and shared knowledge of the personnel is gathered, along with important details about the structure and business of the company.
CCQ allows users to access data and information wherever and whenever they like, on whichever device they choose. Users aren’t confined to their laptop or PC, they can also access CCQ on a tablet or mobile. In order to retrieve relevant information more easily, users can customize their own dashboard according to their requirements and preferences. Every module serves to simplify and streamline day-to-day operations in quality management.
Asset Management
The benefits of efficient asset management are undeniable, and companies of all shapes and sizes are beginning to take notice. Assets can range from software licenses to office equipment, company vehicles, and even housing. To build a centralized repository that accounts for the presence and purchase of all your assets, can dramatically reduce costs and prevent unnecessary replacement of lost or misplaced assets.
CCQ helps you realize a greater return on investment on your assets, and improves asset reliability. It allows you to establish the processes and controls you need to ensure compliance with corporate, contractual and regulatory requirements.
The following user guide concerns everything related to the Risk Management module of CCQ.
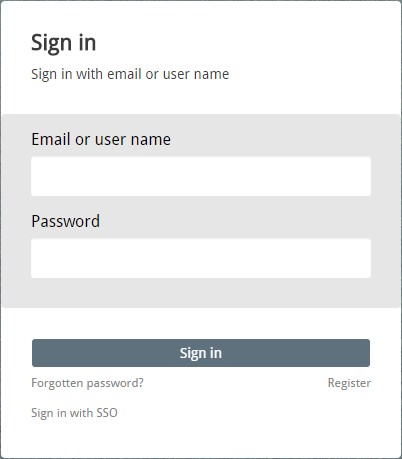
Logging in
Navigate your web browser to CCQ’s URL to access the login screen. The CCQ login screen allows you to enter your login credentials to access the system – either your email or username, and password.
Resetting your password
There may be occasions when you forget your CCQ password and need to reset it. Users can easily request a password reset via the Forgotten password? link on CCQ’s login screen. Use the following steps to reset your password:
- Click the Forgotten password? link on the bottom of CCQ’s login dialog box.
- Enter your primary email address, then click Send reset email. If submitted successfully, a notification will appear saying that an email has been sent with information on how to reset your password.
- Click the reset link in the email sent to your primary email address.
- Enter your new password on the reset password page. Click Set password to access the system.
Language settings
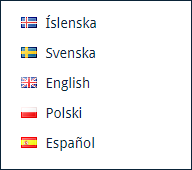
Users have the option of choosing the primary language they want displayed in CCQ by clicking their username on the upper right of the interface. A drop-down list will appear, allowing you to select the appropriate language from the options at hand. The languages that are available for use in CCQ are English, Icelandic, Swedish, Polish and Spanish.
Logging out
When you are done working in CCQ and wish to log out of the system, simply click your username on the CCQ banner up top and select Sign out. This will log you out completely and send you to the system’s login screen. In order to access your account you must log in again.
The Dashboard
The dashboard is the main entrance to the CCQ system. When a user logs in to the system, he is automatically redirected to the dashboard and from there he can access all modules that his company has subscribed to. The dashboard is where different dashlets are grouped together based on the data that users would like to view. The dashlets provide users with valuable information and access to documents regarding their organization.
Every user in CCQ is presented with various options to customize the dashboard to best fit their individual needs and requirements. They can use the various display options and filters to add/remove dashlets from the dashboard, to view information that is of importance to them. This adaptability facilitates the process of finding relevant documents in CCQ, increases productivity and enables each user to do their job better.
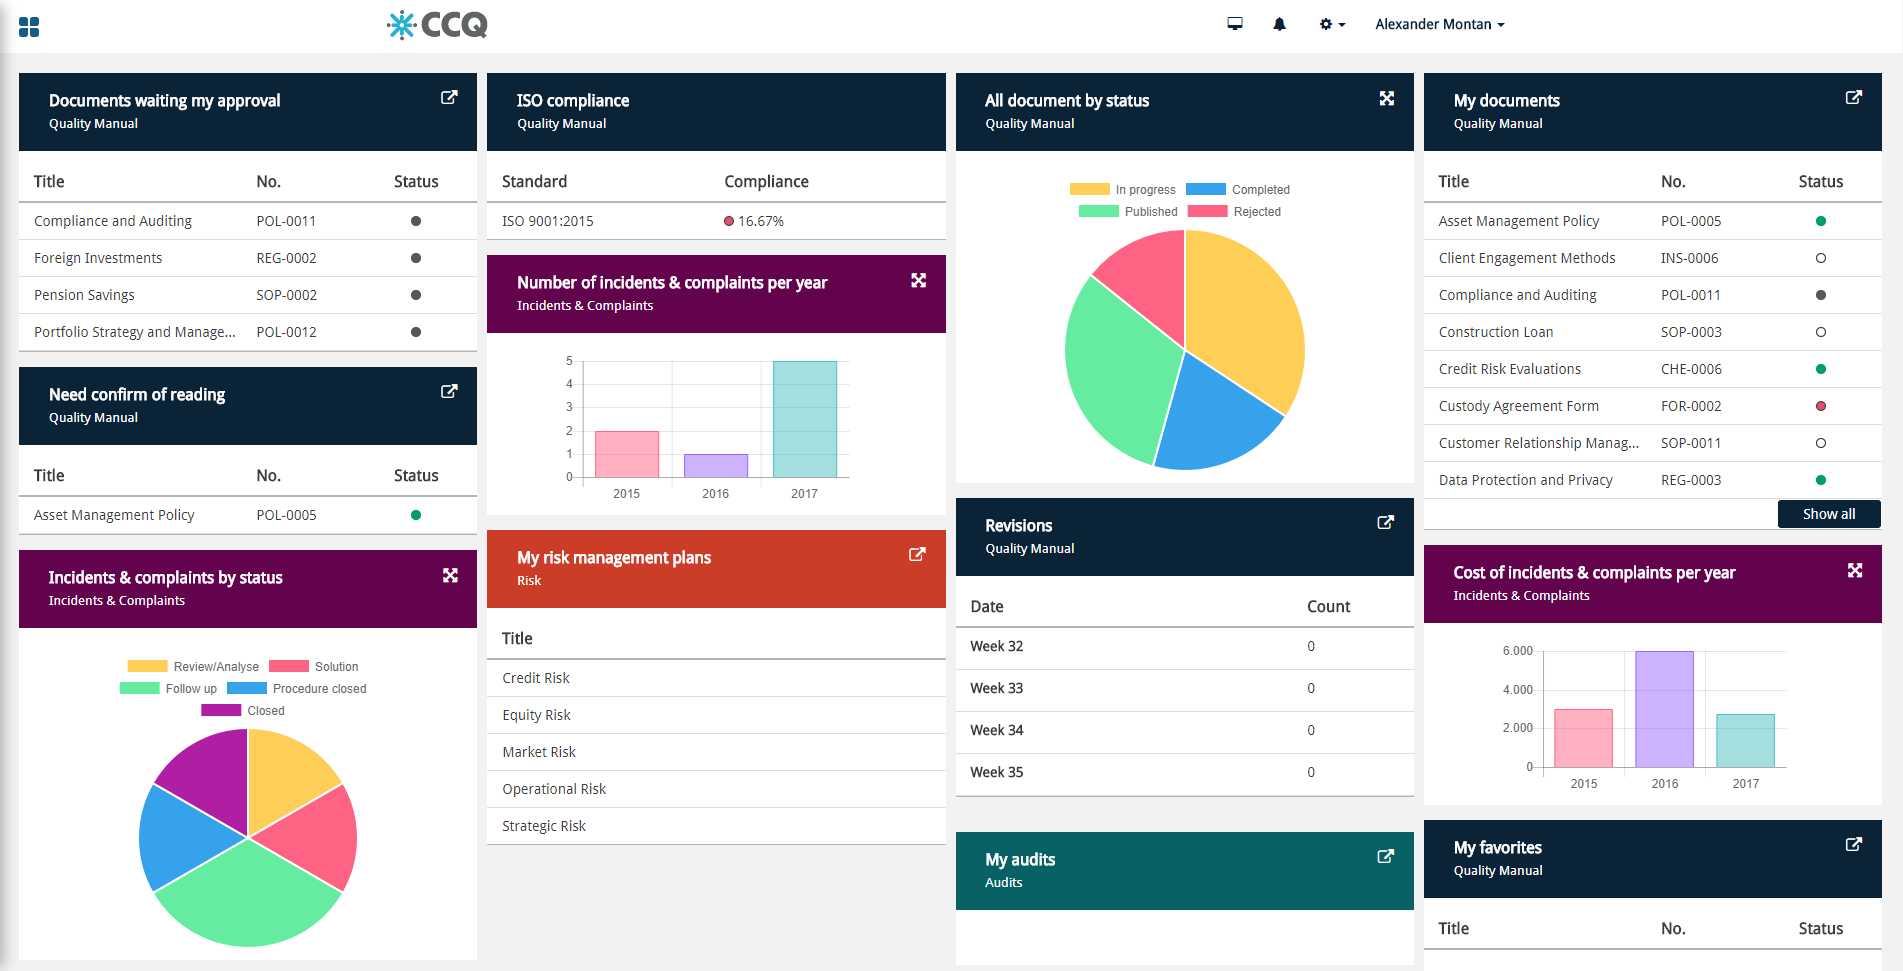
To name but a few of the options available for the dashboard, you can track the assets and maintenance plans that you are personally responsible for and repairments that have been made. Dashboard settings and the selection of dashlets available will be further discussed in chapter 6.4.
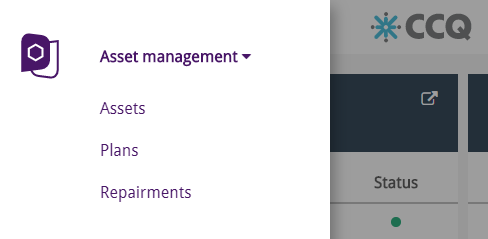
To enter the Asset Management module from the dashboard you simply click on the ![]() icon on the top-left side of the interface and a side menu will appear where you can choose either Assets, Plans or Repairments. You can also click the asset management
icon on the top-left side of the interface and a side menu will appear where you can choose either Assets, Plans or Repairments. You can also click the asset management ![]() icon which redirects you to the frontpage of the Asset Management module.
icon which redirects you to the frontpage of the Asset Management module.
General functionality
The CCQ Asset Management module consists of three basic interfaces, Asset, Plan and Repairment. Before you can start using the module to its full potential, you need to list and register your assets. Subsequently, you can start making maintenance plans for each asset and schedule repairs, if needed.
The CCQ system comes out of the box with a few default templates that assist you in registering your various assets. Useful as these default templates can be, they are rather limited when it comes to assets that are very distinctive or specific to a certain industry. For this reason, the ability to create your own registration templates is incredibly valuable when classifying your assets.
When registering an Asset, you’re able to log the pertaining purchasing information, such as price, warranty, depreciation, and so forth. If financing was needed for the purchase of the asset, you can store information on that as well – for example, whether it’s a lease purchase or a loan, and the terms of the contract. You can determine whether the asset should be maintained or calibrated and how frequently, and if there’s an associated maintenance contract you can spell out its details.
As can be expected, it’s a slightly different story when it comes to the registration of software systems and IT assets. It can be very convenient to keep count of licenses in use, the license key and cost, and therefore the template is designed accordingly. For each IT asset in your arsenal, you have a set of questions regarding the processing of personal data in that system. Typically, it’s the responsibility of the system owner to answer these questions.
If an asset undergoes maintenance or calibration, you can outline the specifics of what was done, who did the job, break down the cost, and give a short summary of the result. This is carried out in the Plan interface. If the maintenance or calibration is performed on a regular basis, a new plan is automatically created for you with a deadline according to the time interval you selected – as soon as you complete and close the previous plan. This gives you a useful overview of upcoming service tasks.
It’s very simple to report that an asset needs repairing, in case it’s broken or malfunctioning. You can either navigate to the Repairment interface and report a faulty asset there, or simply scan a QR code. Namely, CCQ allows you to tag your assets with a QR code, and when the asset breaks down and needs restoration, you can simply open a QR code reader on your mobile phone, point the camera and the reader will recognize the asset in question. Then you open the link that appears and you’re redirected to the registration template of a new repairment.
Every asset should have a supervisor and therefore assigned to a person responsible. When an asset is scheduled for maintenance, the system sends the supervisor an email reminding him that the time has come for the asset to undergo service. It is then put on the task list of the employee concerned. The same goes for repairs, the supervisor is notified when a repairment for an asset is reported. The CCQ system offers a robust history on the entire lifecycle of an asset. It keeps track of every maintenance, calibration and repair that’s been made on each asset, and you can always look up previous adjustments.
The Actions Button
In order to effectively operate the CCQ system, you need to get familiar with the Actions button. It’s essentially a drop-down list that gives you a diverse assortment of options. The options keep changing, depending on where you are in the system. For example, you won’t get the same list of options when you’re viewing a maintenance plan as when you’re making a custom registration template.
![]()
Delete
It’s possible to delete asset documents from the system, maintenance/calibration plans and repairments alike. This can be done in two ways. You can either click the waste bin icon ![]() on the right-hand side of each asset, plan, or repairment in the corresponding list. Or, if you want to delete several documents at the same time, you can mark their checkboxes, click Actions and Delete them there. Keep in mind that when you delete an asset, its associated maintenance/calibration plans and repairments get deleted as well.
on the right-hand side of each asset, plan, or repairment in the corresponding list. Or, if you want to delete several documents at the same time, you can mark their checkboxes, click Actions and Delete them there. Keep in mind that when you delete an asset, its associated maintenance/calibration plans and repairments get deleted as well.
If you accidentally delete an asset document, there’s no need to panic as deleted documents get sent to the Recycle bin, where you can restore them. When restored, the document becomes accessible again in its original location and available for editing. You can access the Recycle bin simply by clicking the corresponding option under your username on the CCQ banner up top. If you’re absolutely positive you won’t be needing the deleted asset documents ever again, you can permanently delete them from the system. After that, they’re gone forever. As a rule of thumb, you should avoid permanently deleting documents without very good reason. You never know when you might need to review them.

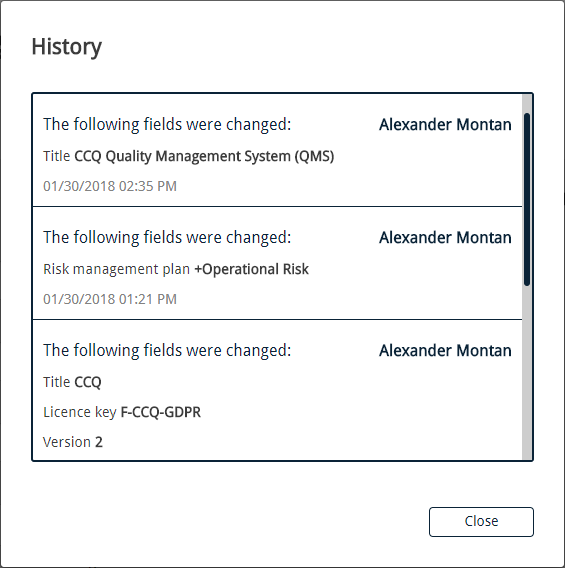
History
When you’re viewing an existing asset document, maintenance/calibration plan or repairment, and you want to examine its history, you can do so by clicking History under Actions. A dialog window opens that shows you all changes that have been made to the document since its creation, who made them and when they occurred. It gives you an overview of the entire asset lifecycle, the acquisition, operation, maintenance, and disposal, and provides a useful record of how well the asset has performed. This offers you the means to address issues caused by the asset’s failure – for example, production downtime and financial losses – and make sure they won’t happen again.
Close plan / repairment
When a routine maintenance/calibration plan has been registered in the system, it can be closed at any time during processing, provided that the frequency of inspection has been set. It doesn’t matter whether the calibration hasn’t been started or the maintenance is still in progress – you can always click Actions and choose to Close it. Consequently, a new plan is automatically created for you with a deadline set in accordance with the time interval you selected.
Repairments can be closed as well, but the difference is that there are no conditions. They can be closed at any time. Once a plan or repairment has been closed, nothing can be altered unless it’s reopened.
Reopen plan / repairment
Once a maintenance/calibration plan or repairment has been closed, the option to Reopen appears under Actions. Selecting this option, the document becomes editable again and you can proceed from where you left off – and make all the changes you want.
Change document template
The option to change a document template is only available under the Actions button in asset documents that have a custom template. Custom document templates are the ones you create for assets that need specific classification. Default document templates, however, can’t be altered. The creation of custom document registration templates will be discussed in detail in chapter 5.2.
Export processing activity records
This option is only available under the Actions button when viewing the list of assets in the Asset interface. By employing this feature, three .csv files are downloaded to your hard drive. These files contain information on the data processing in your software and IT assets, as well as details on data controllers and processors. This enables you to quickly present cold hard data, and demonstrate compliance with the GDPR regulation when supervisory authorities come knocking on your door. Among the data that is exported, are the answers you provide for each IT asset questionnaire, under Mapping processes. This will be further discussed in chapter 2.4.2.