
Documents
Contents
Filtering documents
All documents
My documents
Ready for publication
Pending approval
Manuals
By status
Document type
Checked out by
Table of content
Reference to standards
Reference to laws and regulations
Older versions
Obsolete documents
Shareable links
Change suggestions
By access
Editing an existing document
The Actions button
Change
Force check in
Set visibility
History of a document
Send link
Get shareable link
Republish document
Filtering documents
When you enter either the Documents or Published documents interface, you can select different views by filtering out the documents that you want to inspect. There’s a drop-down list with different filtering options at the top of the interface. The documents then appear in a list below, in accordance with the selected filter.
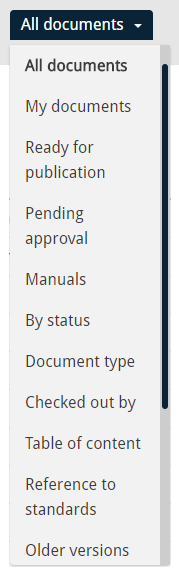
The following are descriptions of the filter options available in the Documents interface.
All documents
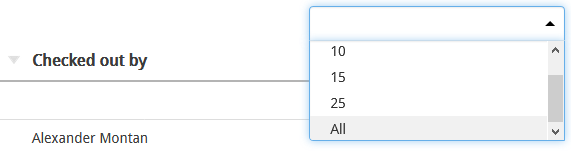
When All documents are selected, you get an overview of all documents in the system. You can control how many documents are shown on the page you’re viewing, via a drop-down list on the top-right side. The options you’re given are 5, 10, 15, 25 or simply all documents.
My documents
When My documents are selected, you get an overview of all the documents that you are currently responsible for, or have “checked out.”
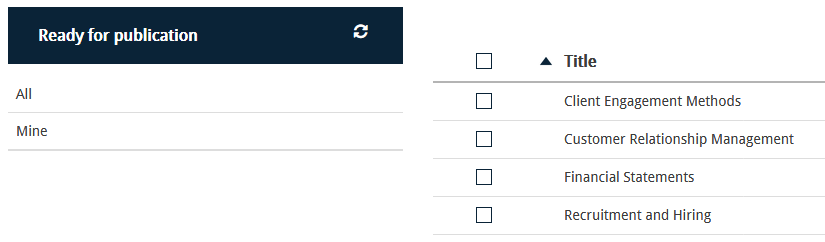
Ready for publication
If you choose to filter documents that are ready for publication, you get an additional filter on the left side of the document list. You can use this filter to sift through the documents even further, as it lets you choose either all documents that are ready for publication, or only yours. As noted above, the documents are ready for publication when the approval process is completed. Hence, this view contains a list of the documents that have been approved and are ready for publication. This filter is useful for persons that are responsible for quality documents and publishers – since they are the only ones authorized to publish documents.
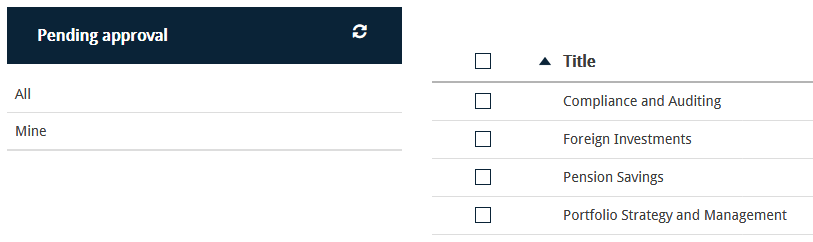
Pending approval
When this filter is selected, you obviously get documents that are pending approval. An additional filter comes into sight where you can either choose all documents that are pending, or only yours.
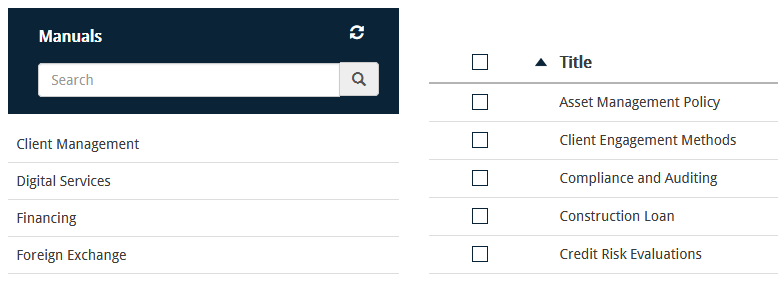
Manuals
You can also filter documents by Manuals. As before, you get an additional filter where you can switch between different types of manuals. All types of manuals are registered in the system settings. This will be covered in more detail in chapter 7.1.2.
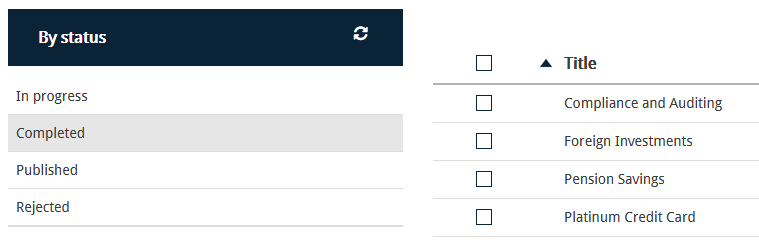
By status
When you filter By status, you get another filter where you can switch between documents that are In progress, Completed, Published or Rejected.
Document type
With this selection, you get another filter where you can choose between different document types, such as Policies, Procedures and Checklists. As with manuals, document types are determined in the system settings. This will be covered in more detail in chapter 7.1.1.

Checked out by
When the Checked out by filter is selected, you get a list of different employees and administrators that have at least one document checked out. You can then filter documents by a particular employee, to see what documents he’s currently working with.
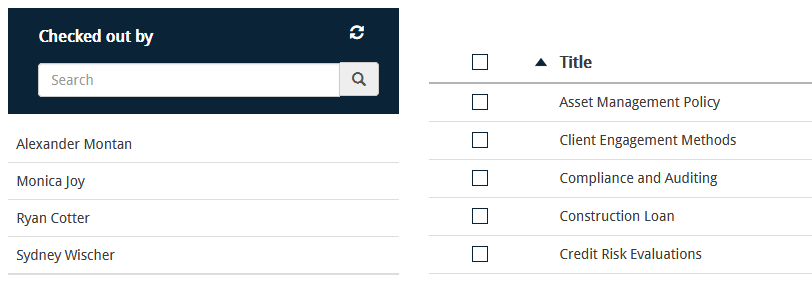
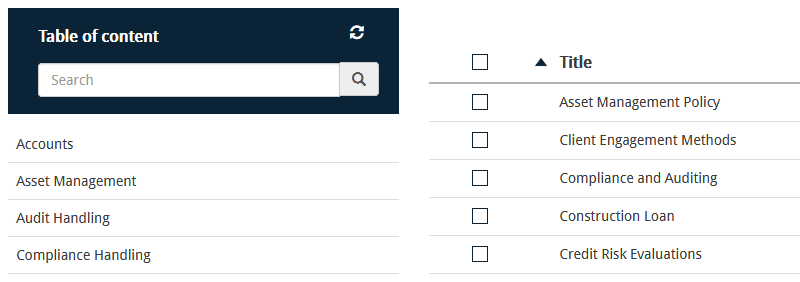
Table of content
When you select Table of content you get an overview of the documents that are associated with different processes in the system. As before, you get an additional filter where you can switch between processes.
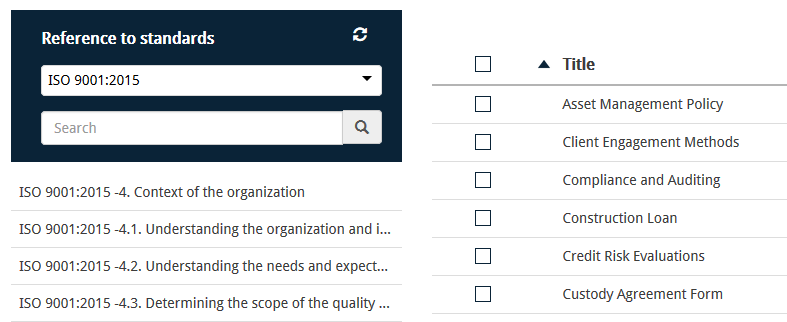
Reference to standards
There are various kinds of references you can make when creating quality documents. If a document is based on a certain standard, it can be tagged with that particular reference. If you choose to filter documents by Reference to standards, you get an overview of documents that are associated with different standards in any way. An additional filter appears to the side of the document list which contains every standard defined in the system. You can use this filter to sift through the documents even further.
When quality audits are carried out, inspections are often made to ensure adherence to standards, and this filter can be useful to retrieve a list of documents that are associated with a specific one.
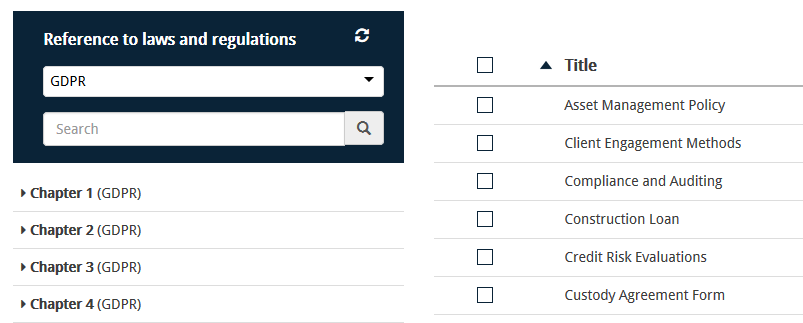
Reference to laws and regulations
If a document is based on a certain law or regulation, it can be tagged with that particular reference. If you choose to filter documents by Reference to laws and regulations, you get an overview of documents that are associated with different laws and regulations in any way. An additional filter appears to the side of the document list which contains every law and regulation defined in the system. You can use this filter to sift through the documents even further.
These filtering options can be convenient to use when, for example, you need to demonstrate the company’s compliance with laws and regulations concerning data privacy. For this purpose, a GDPR content package is included in the Quality Manual module. The filter may also be useful when documents are written in accordance with a statute that is then amended. It is easy to review and make the necessary changes to the documents that are tagged with the relevant reference number.
Older versions
The system has an inbuilt function for traceability, and with this filter you can find all Older versions of the documents. More often than not, documents are revised and republished and all versions are saved and stored in the system. Intermediate versions, or rather workbook versions of documents are not saved under this view.
Obsolete documents
Obsolete documents are basically older versions of documents that have been deleted. With this filter, you can find every document that has become obsolete. Note that you won’t find the newest version of the document here, you’ll have to look for that in the Recycle bin.
Shareable links
Change suggestions
If there are any issues with a published document, users can submit a change suggestion for that document. With this filter, you get all documents that have any associated change suggestions.
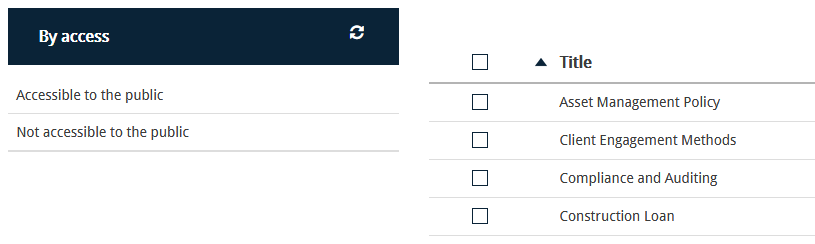
By access
With this selection, you get an additional filter where you can choose between documents that are accessible to the public, and those that are not.
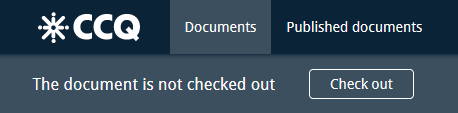
Editing an existing document
When continuing work on an existing document, it needs to be “checked out.” This sets the document to “edit mode” and guarantees that only one user works on a specific document at a time. This is ensured by essentially converting the document into a read-only file for other users. Thus, when another user wants to view a document that’s already checked out, he gets a message telling him that only the person who has the document checked out can edit. If the user is an admin however, he can force the check-in of a document and make it open for editing for anybody. This will be briefly discussed in chapter 2.3.2.
The Actions button
![]()
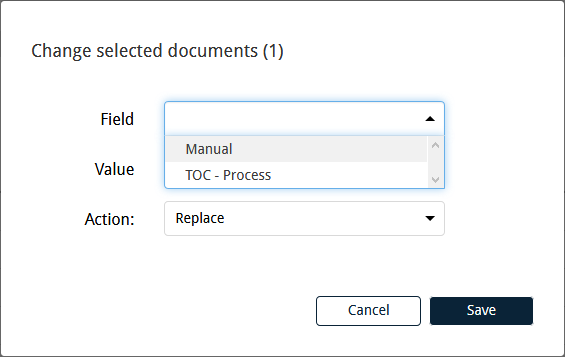
Change
If you need to change the categorization of a document, you have a shortcut for that purpose by marking the relevant checkbox in the document list and clicking Change… under Actions. You have two options, you can either change the manual the document belongs to, or the process. In addition, you can either replace or add the document to the manual/process in question. Note that the document you select needs to be In progress. You cannot use this feature with documents that have the status Completed, Published or Rejected.
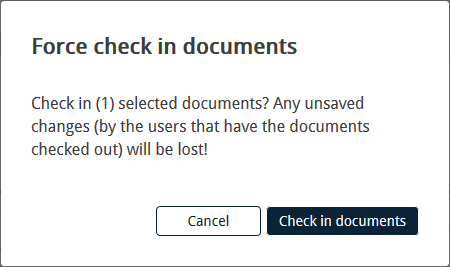
Force check in
This option is only visible to the user, if that user is an admin. If a certain document is being checked out by a user, an admin can force the user to check in the document. Any unsaved changes the user has made to the document will be lost in the process. Admins are therefore obligated to use this action sparingly and only after careful consideration.
Set visibility
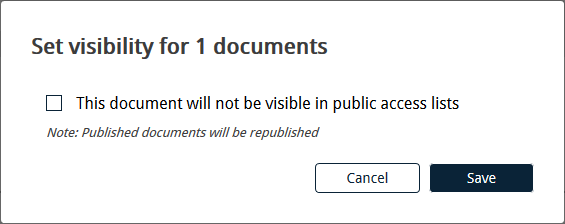
If a document contains sensitive information that you don’t want outsiders to get their hands on, you can control access to it by setting the visibility of the document. By selecting the document and clicking Set visibility… you get a dialog box where you mark the document as “invisible to public access lists.” As a result, the document won’t be accessible to people that have been granted permission to view published documents via public links.
History of a document
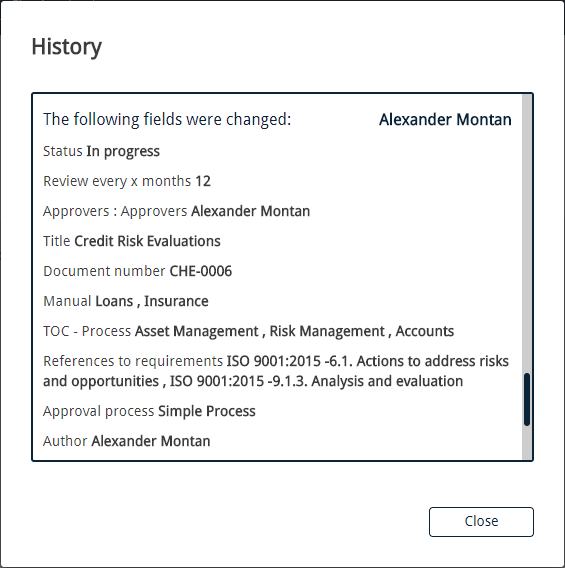
When you’re viewing an existing document, and you want to examine its history, you can do so by clicking History under Actions. A dialog window opens that shows you all changes that have been made to the document since its creation, who made them and when they occurred. It gives you an overview of the process, whether anybody has commented on the document or approved it for publication, etc.
Send link
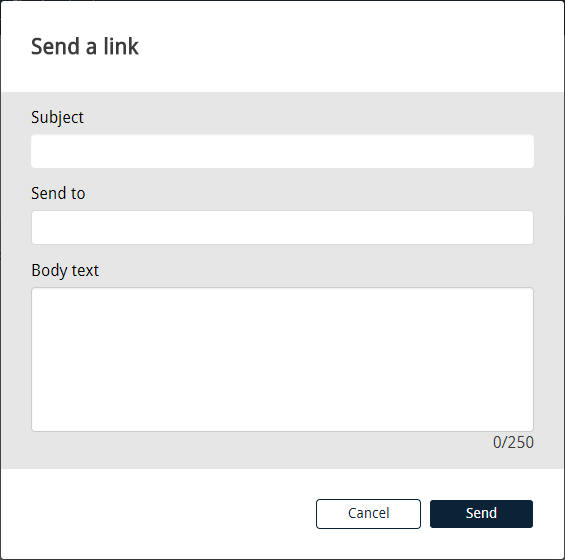
When processing a document, it’s easy for editors to pass it back and forth between each other. By opening the document in edit mode and clicking Actions, you get an option called Send link. It displays a dialog window where you select the recipients of the link from a list of people who contribute in the editorial (or approval) process.
You specify the subject of the message, and you can also add a comment or some instructions for the recipient to follow. For example, a deadline or an adjustment that needs to be made in the document. The recipient should then receive an email with a link to the document and information about the exchange is recorded in the History of the document – i.e. who sent the link and when, to whom it was sent and the content of the message.
Get shareable link
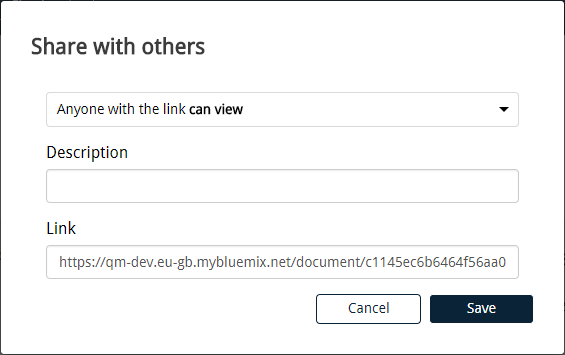
You have the ability to determine whether the person you share the link with can either edit the document or only view it. Note that people don’t necessarily need a CCQ account to view or edit the document.
Republish document
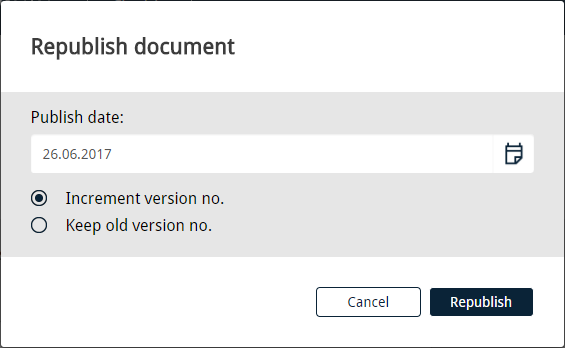
When you’ve checked out a published document, this option appears in the Actions button. It allows you to republish the document (as long as you are authorized to do so). When all you need to do is change some data in the information tab, and not alter anything in the document itself, this option can be convenient to use. It spares you the trouble of changing the status of the document to In progress and going through the approval process all over again. You get a dialog where you specify the publication date and whether you want to keep the old version number or increment it. You click the calendar ![]() icon to pick a date.
icon to pick a date.