

System Settings and Configuration
Contents
Settings
Stakeholder
Probability
Risk source
Company settings
Default values
Severity template
At risk
Text for severity level
Risk treatment
Templates
User templates
User groups
CCQ offers administrators a comprehensive range of configuration options to set up the system according to their organization’s needs and preferences. The system provides tremendous flexibility by allowing users to customize several aspects that affect the way their company conducts risk management and quality control.
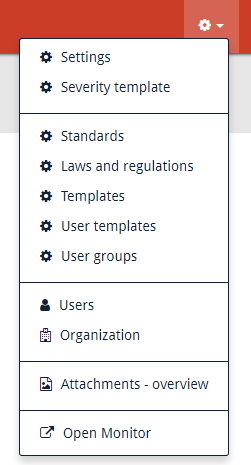
By clicking the settings ![]() icon on the CCQ banner up top, you will find the numerous configuration options of the Risk Management module. This is where you control the basic functionality of the system; manage users, create severity templates, and organize standards, laws and regulations, etc. This settings menu will only be visible to you if you’re an admin.
icon on the CCQ banner up top, you will find the numerous configuration options of the Risk Management module. This is where you control the basic functionality of the system; manage users, create severity templates, and organize standards, laws and regulations, etc. This settings menu will only be visible to you if you’re an admin.
Settings
In Settings, you determine the Stakeholders that can be affected by risks, and the Probability scale that you’ll be using in your risk assessments. Under Risk source you try to define the different elements that give rise to risks, and in Company settings you have the ability to limit file sizes in the system. Further descriptions of different settings and configuration options, are to be found in subsequent sections.
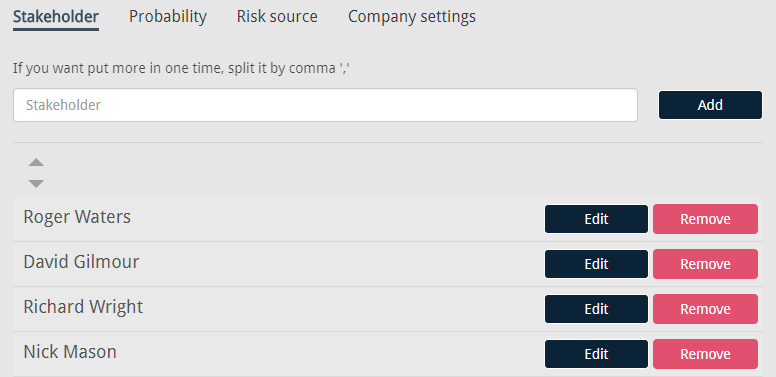
Stakeholder
As was previously mentioned in chapter 2.2.1.4, a stakeholder can be a “person or organization that can affect, be affected by, or perceive themselves to be affected by a decision or activity.” In this tab, you list all stakeholders that can be associated with possible threats to your company. You’ll choose from this list of stakeholders when you create a new risk management plan. You simply type their name in the textbox and click Add. If you want to add more than one name at a time, you should separate the values with a comma.
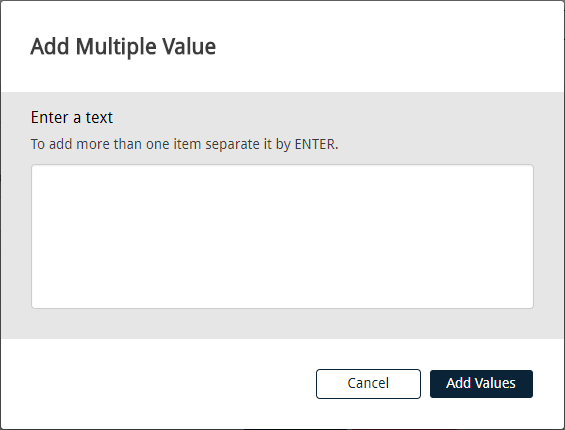
Under Actions, you have an option called Add multiple values. You can also use this feature when the intention is to add multiple stakeholders at a time. A dialog window appears, where you enter their names, separated by a newline. Then you click Add values and the stakeholders get added to the list. You can either sort your list manually by “dragging and dropping,” or sort it alphabetically by clicking the up and down arrows.
Probability
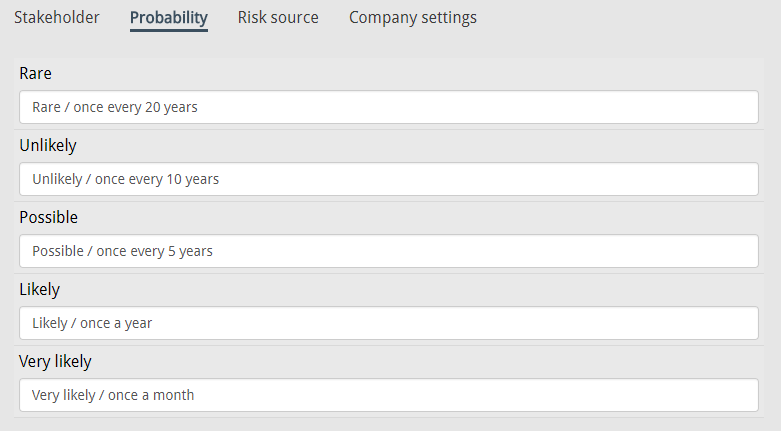
In this tab, you define the Probability scale that you’ll be using in your risk assessments. Probability is, by definition, the likelihood or chance of something happening. In CCQ, risks can be classified under one of five categories – that is, on a scale of 1 to 5.
Rare (score 1): Extremely rare and exceptional risks, with almost no probability of occurring.
Unlikely (score 2): Risks that are relatively uncommon, but still cannot be ruled out completely.
Possible (score 3): Risks that are more typical, with about a fifty-fifty chance of taking place.
Likely (score 4): Risks that are highly likely to occur.
Very likely (score 5): Risks that fall under this category are almost certain to manifest. These are your top priorities.
When you’re making a risk assessment, you estimate the probability and classify the risk accordingly by selecting a category from the list defined here. Remember that you‘re dealing with lots of unknown factors here, and you shouldn‘t concern yourself trying to strive for exact calculations of probability.
In the screenshot below, you can see the default probability values that the CCQ system provides.
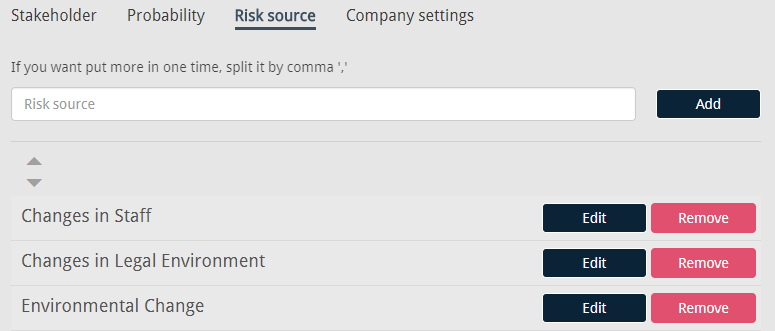
Risk source
In this tab, you list all risk sources that you can think of, and when you create a new assessment you select a source from the list that you define here. As noted in chapter 3.2.4.6, risk source is defined as an “element which alone or in combination has the intrinsic potential to give rise to risk.” Bear in mind that a risk source doesn’t necessarily have to be tangible, it can also be something intangible.
In every industry, there are certain laws that apply and statutory obligations that must be met. Changes in the legal environment is an example of risk source which can raise compliance issues for companies. Changes in staff is another example, where you risk losing essential skills or knowledge if something happens to one of your employees. Key business activities could remain unmanaged, unless you reassign responsibilities. Environmental change can also give rise to new risks or influence existing ones. Please note that these examples are only meant to give you an idea of what might be listed here.
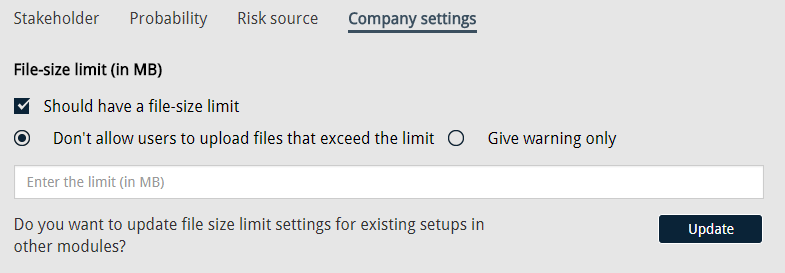
Company settings
In this section, you have the ability to limit the size of files that users upload to the system. By marking the Should have a file-size limit checkbox, an input field appears where you can enter the limit in megabytes. You also decide whether the system gives the user a warning when he tries to upload a file that exceeds the size limit, or prohibits the action altogether.
If you want to make the file-size limit settings consistent across all modules, you can do that here by clicking Update below.
Default values
Under Actions, you have an option called Insert default value. When you apply this action, predefined configuration values for different stakeholders, probability and risk source are inserted into the system settings. The aim is to give first-time users an idea of what kind of values can be expected when classifying different documents. The default values are currently available in four languages; English, Icelandic, Swedish and Polish. Unfortunately, Spanish speaking users will have to wait a bit longer for the translation.
Please note that these default values are by no means set in stone, as they are only meant to give an example of how the system can be configured. They should be altered to better suit your company’s needs.
Severity template
The ability to create Severity templates for different risks, is one of the most crucial features of the Risk Management module. You’ll find this option under the settings ![]() icon in the CCQ banner. The purpose is to provide reusable templates for various types of risk, and design a scale for estimating their impact. In each template, you also come up with treatment options for the risk in question. You’re required to diligently fill out every field in the template.
icon in the CCQ banner. The purpose is to provide reusable templates for various types of risk, and design a scale for estimating their impact. In each template, you also come up with treatment options for the risk in question. You’re required to diligently fill out every field in the template.
As before, CCQ provides you with default values that can be used or altered at will.
At risk
This field serves as a title for the severity template that you’re creating. The name of the template should adequately describe the type, or category of risk that you’re managing. When you make a new risk assessment, this title will be available in the At risk field, see chapter 3.2.4.1.

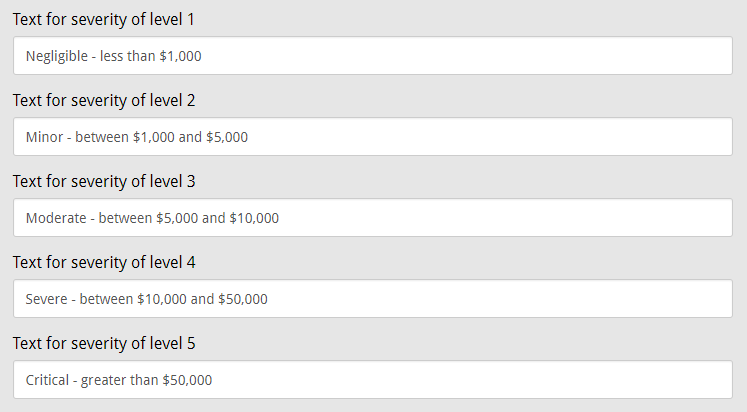
Text for severity level
The next step is to define different severity levels, to be able to classify risks based on their potential impact. Recalling the approach used for probability classification, risks can be categorized in a similar way based on their severity, on a scale of 1 to 5. Typical classifications used are:
Negligible (score 1): Risks that pose no significant threat, and won’t cause any real damage.
Minor (score 2): Risks that have a mild effect, but the extent of damage is not too significant.
Moderate (score 3): Risks with a sizable negative impact and are bound to cause some problems.
Severe (score 4): Risks with substantial consequences that could seriously harm the organization.
Critical (score 5): Risks that are extremely detrimental, that could result in catastrophic failure for the company. These are the highest-priority risks to address.
A practical way of thinking about impact, is in terms of how much money you stand to lose, as discussed in chapter 3.2.4.2. You should take into account both the direct cost of dealing with the event, and the loss of revenue you can expect.
Risk treatment
Treating risks involves working through options to deal with unacceptable risks to your business. Unacceptable risks range in severity; some risks will require immediate treatment while others can be monitored and treated later. The four last fields in each severity template are meant for treatment suggestions for the risk in question. A different course of action is provided for each risk rating level; low, moderate, high and critical.
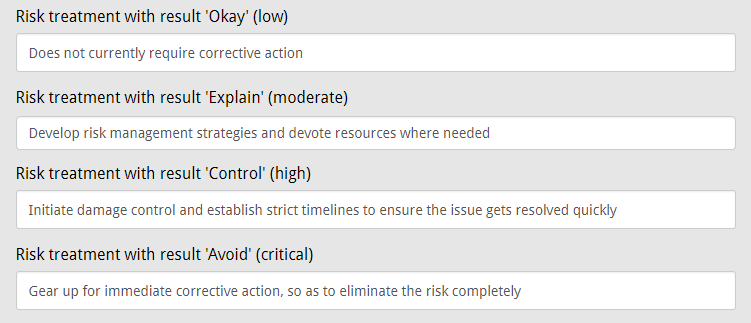
When creating a risk assessment, the appropriate treatment suggestion automatically appears in the field Steps to handle risk if risk is present, as soon as CCQ has calculated the risk rating for the assessment, see chapter 3.2.4.5. The message that appears should point you in the right direction, and help you figure out which risk management strategy to employ. Obviously, these suggestions are closely related to the risk reduction measures you determine in the text editor, see chapter 3.2.5.
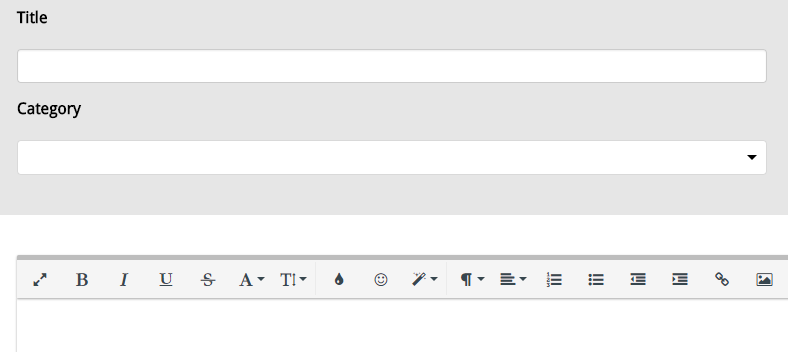
Templates
CCQ presents you with the ability to create document templates in order to potentially facilitate the process of making new risk assessments. This should reduce paperwork as well as establish consistency between documents. To fetch a predetermined template for a risk assessment, you click the ![]() icon in the text editor, as was covered in chapter 3.2.5.1.
icon in the text editor, as was covered in chapter 3.2.5.1.
User templates
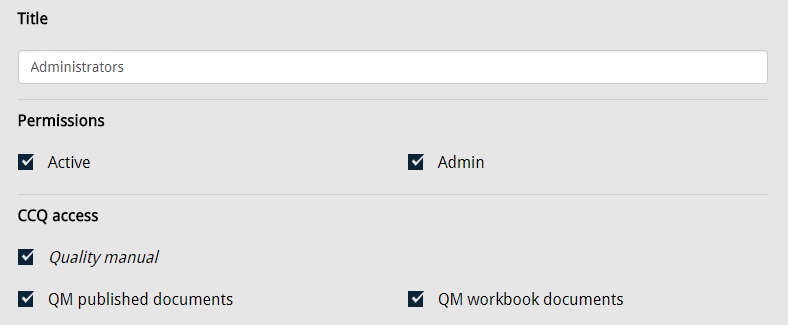
Within an organization you usually have a wide assortment of employees. You have administrators, executives, project managers, analysts, consultants, etc. CCQ offers administrators the ability to create different user templates or roles, and assign them to general users of the system. In a typical user template, you need to specify all the details that are required when you’re creating a new user. The process of creating a new user will be further discussed in chapter 6.2.
In the template, you determine users’ permissions, their default language and dashboard settings. Bear in mind that you’re creating a template for a group of employees, but more often than not you need to make some additional adjustments for individual employees. This should speed up the process when you’re creating new users.
User groups
This is where you define different groups of people that you want to send an email to, simultaneously. It can be extremely convenient to create different mail groups, in order to avoid adding each name each time you want to send them an email. For example, when creating a new risk assessment you can add a mail group to the list of persons that will receive a notification when the assessment is published.
